Getting started
Few quick steps that will get your new theme up and running.
Installation
-
Unpack canvas_install.zip and upload its contents to
stylesfolder in your phpbb forum root. - Go to Administration Control Panel Customize
-
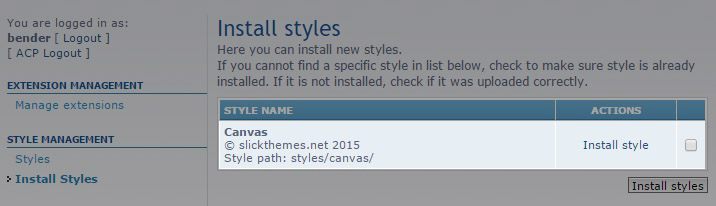
Under "Style management" click Install styles and install Canvas from the list. If it does not appear in the list make sure you uploaded the files correctly.
- (optional) Set Canvas as default theme (click here to learn how)
Upgrade
-
Unpack canvas_upgrade.zip and upload its contents to
stylesfolder in your phpbb forum root. -
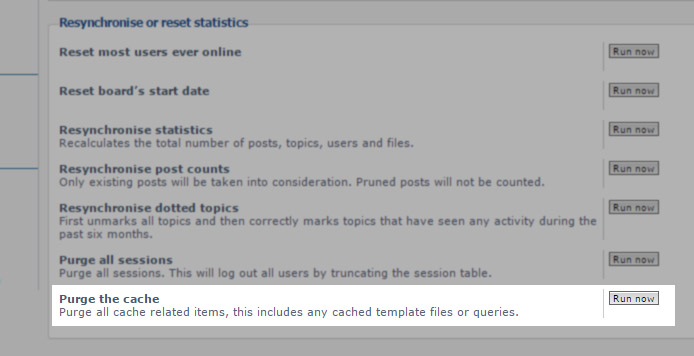
Go to Administration Control Panel find "purge cache" and click "run now"
Set as default
To make sure all your users see this theme, set it as default.
- Go to Administration Control Panel General Board settings
- Under "board style" category - Change "default style" and "guest style" and set "Override user style" to yes

Where is UCP/ACP link?
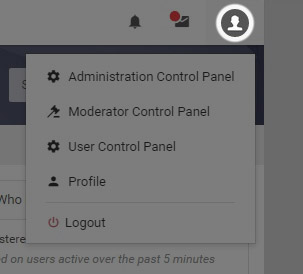
Canvas moves UCP/ACP/MCP links to a dropdown under avatar. Simply click your avatar and a dropdown will show up
Slickpanel
Customize your forum's design and layout with SlickPanel
Installation
-
Unpack slickpanel_ext.zip and upload its contents to
extfolder in your phpbb forum root. - Go to Administration Control Panel Customize
- Enable "Slickpanel" extension
Upgrade
-
Unpack slickpanel_ext.zip and upload its contents to
extfolder in your phpbb forum root. (overwriting existing files)
Using slickpanel
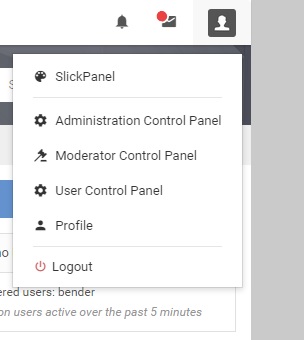
- If you're logged in as an admin and have slickpanel extension enabled, you'll see slickpanel link in user-dropdown
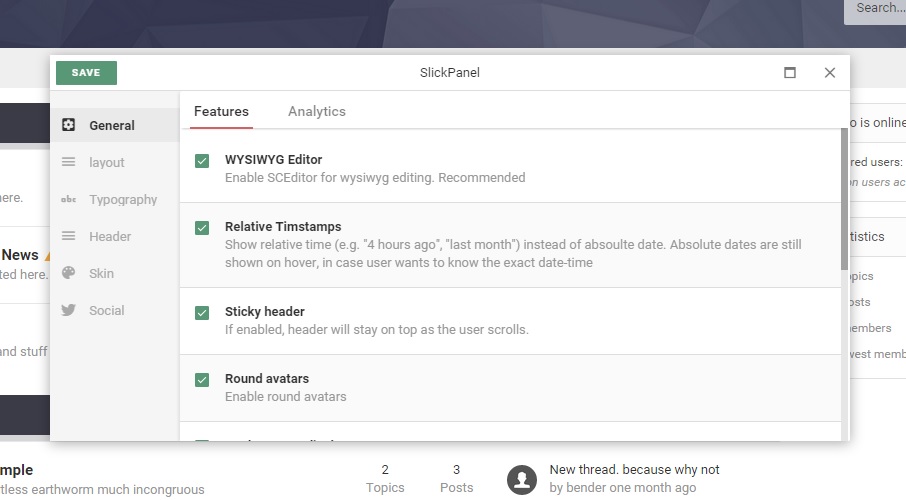
- Clicking the slickpanel link with load SlickPanel in a window. You can navigate through the sections and tweak your forum's look and feel. Once done, click the green save button in the slickpanel window.
Customization
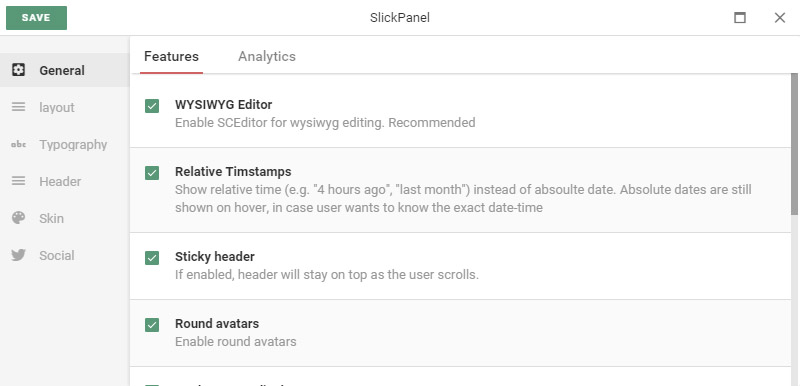
Toggle Features
- Open slickPanel and navigate to General Features
- Check the features you want to enable, Uncheck the ones you want disabled
- Click save
Change logo
Text Logo
- Open slickPanel and navigate to Header Logo
- Text logo is the default logo type. So all you have to do is Modify the value of "Logo Text" Input
You can optionally set font color, family, size and weight - Click save
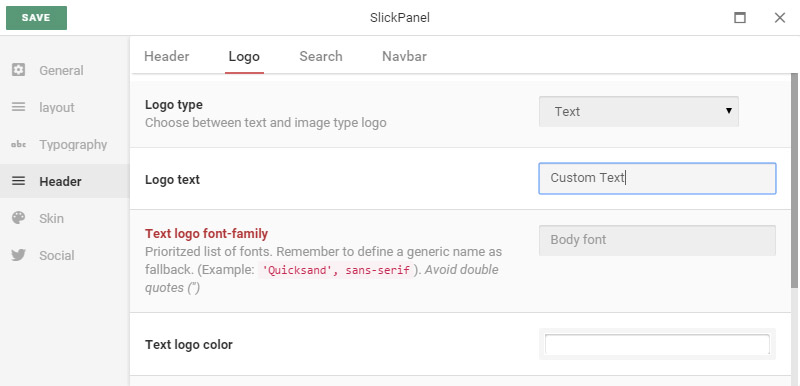
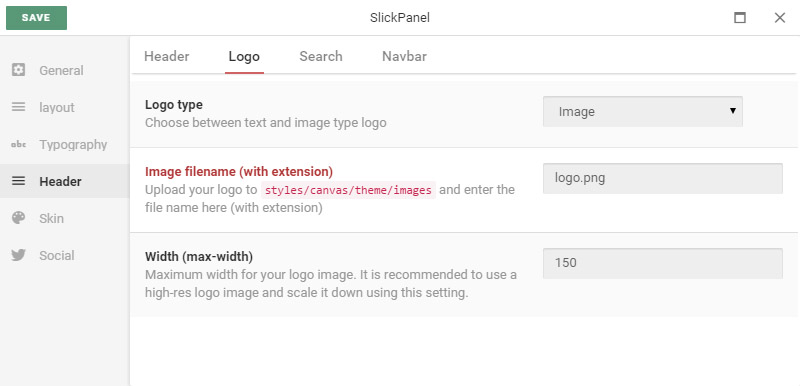
Image logo
- Upload your logo file to
styles/canvas/theme/images/ - Open slickPanel and navigate to Header Logo
- Change "Logo type" to Image
- Enter your logo's filename (Name of the file you uploaded in step #1) in "Image filename" Input
- Click save
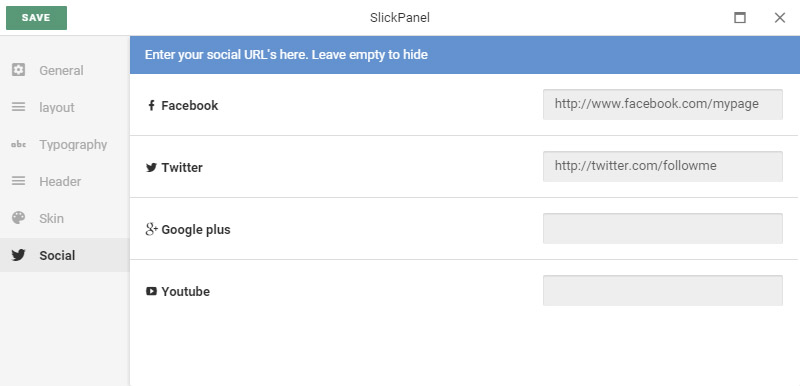
Social Icons
These icons show up in the footer
- Open slickPanel and navigate to Social
- Enter the URLs for respective services (Leave empty to hide)
- Click save
Change font
- Open slickPanel and navigate to Typography
- You can use different fonts for body, navbar and content. For now, Let's try changing the body font to
Trebuchet MS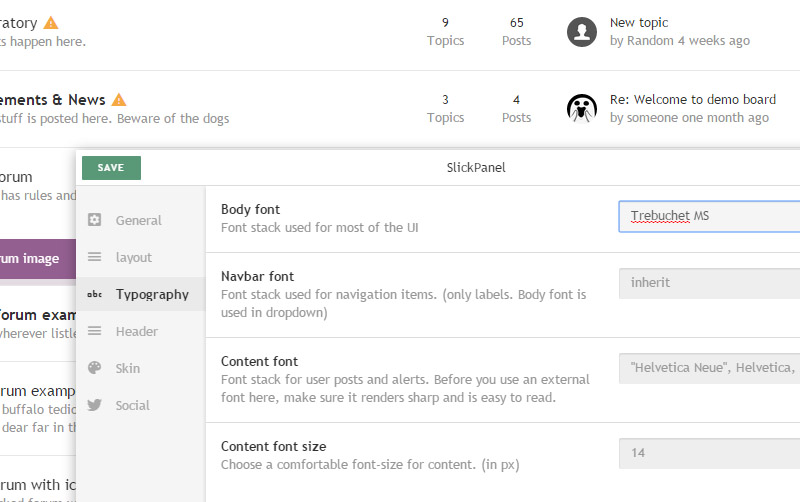
- Like it? Click save
In order to use webfonts you need to include webfonts in the page. Open styles/canvas/template/custom/extra_css.html and add your webfont's code
For example, to add open sans from google fonts, you'd have to paste the following code
<link href='https://fonts.googleapis.com/css?family=Open+Sans' rel='stylesheet' type='text/css'>Header
- Open slickPanel and navigate to Header
- Here you can change Header height, background-color, background-image and even make it transparent
- Your changes will reflect on the header as you change the settings. Once you're happy with the look, Click save
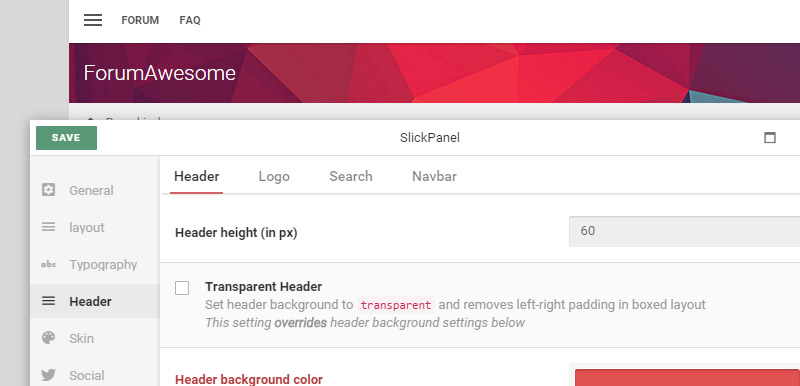
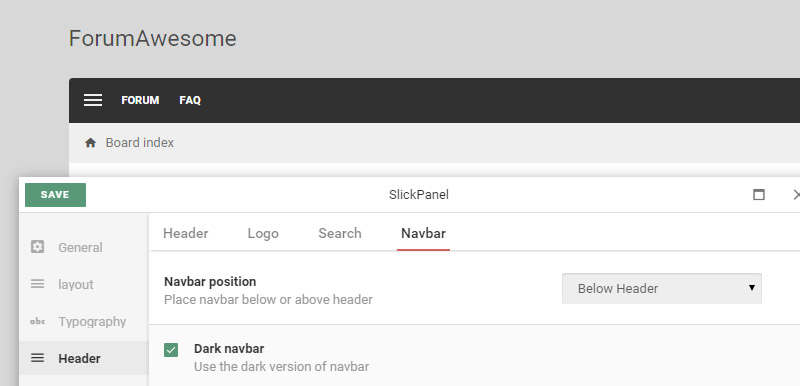
Header section contains 3 sub-components as well. Namely Logo, Search and Navbar. Feel free to play around with those settings
Here's an example with dark Logo color and Navbar with different position and dark color scheme
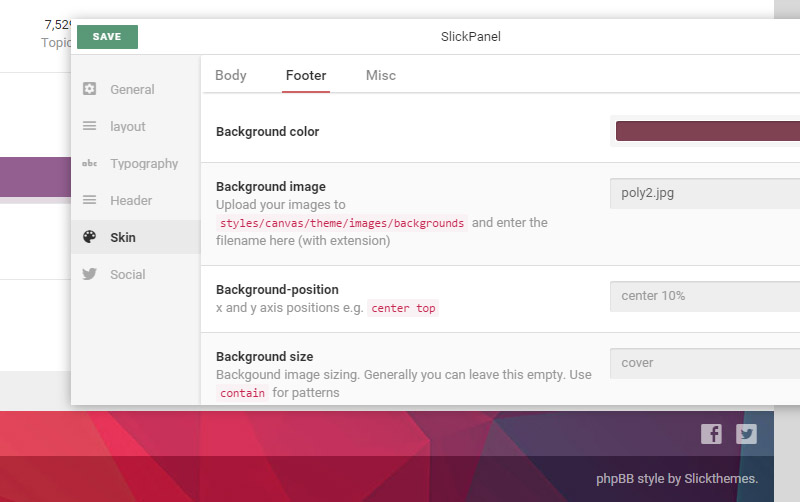
Footer
- Open slickPanel and navigate to Skin Footer
- Here you can change Footer background settings
- Your changes will reflect on the footer as you change the settings. Once you're happy with the look, Click save
Here's an example of footer with image background (poly2.jpg is included in the package)
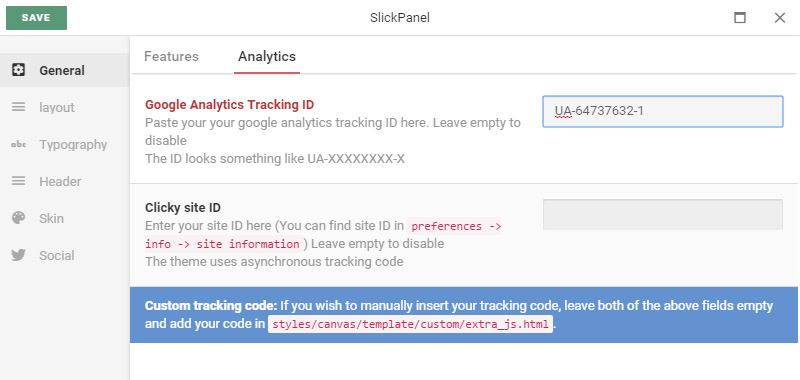
Analytics
Adding Google Anayltics and/or Click analytics support is super easy with SlickPanel
Google Analytics- Open slickPanel and navigate to General Analytics
- Enter your site's tracking ID (you can find it under admin > Property settings > Basic settings)
- Click save
- Open slickPanel and navigate to General Analytics
- Enter your site ID (You can find it in preferences -> info -> site information)
- Click save
But wait. There's more!
Slickpanel has many settings which you might not have seen in the documentation. You can mix and match different layout and visual settings to create your own, customized look.
Go to your forums, open SlickPanel and Explore them!
Build from source
For advanced users only.This section covers compiling CSS from source files, allowing you to take customization one step further. However, you do this at your own risk and slickthemes will not be responsible for any errors/bugs your modifications cause.
Since its aimed at experienced users, this section will not explain some pre-requisites
What's required?
- Basic CSS and SASS knowledge (don't wory SASS' syntax is CSS-like)
- A code editor. Some of the great, free editors out there Notepad++, KomodoEdit, Brackets and VS Code (beta)
- nodejs installed - you can download it here https://nodejs.org/
- local webserver with phpBB installed
Setting up...
You only need to do this once
- Install canvas in your local phpbb installation
- Copy the contents of canvas_dev.zip to
stylesfolder - Open terminal in
styles/canvas/(In windows you can open the folder in explorer Shift + right-click Open command window here) - Install gulp globally by running
npm install --global gulp - Once finished, run
npm installto install Canvas' project dependencies
Running the compiler
Once you have completed the setup, you can simply run gulp in styles/canvas/ and start working with the SASS files
- Open terminal in
styles/canvas/ - Run
gulp
RTL version
Executing bidi.js in node creates RTL version of main.css
- Open terminal in
styles/canvas/ - Run
node bidi
What files to edit?
Main theme style files are located in styles/canvas/theme/scss/theme
With gulp running, everytime you make changes to these files, CSS will recompiled
When done editing
Once you're finished with your editing business, you can simply upload main.css (or main_rtl.css if your site is RTL) to its corresponding location on your website's server
Purge the cache from ACP to make sure your users immediately see the new changes you made